Fix.
Learn.
3D Printing a Clip-on Speaker Redirector for the Xiegu G90
I had no idea what to expect from getting into amateur radio but I definitely did not expect it to rekindle my interest in 3D printing. But here we are.
I’ve had a 3D printer for ~10 years now. I got my first one, a Monoprice Maker Ultimate/Wanhao D6 from a friend who is a prolific printer and part designer. He sold me the printer for $100 and even gave me a crash course in how to use it and also some basics in designing parts using both Sketchup and Fusion.
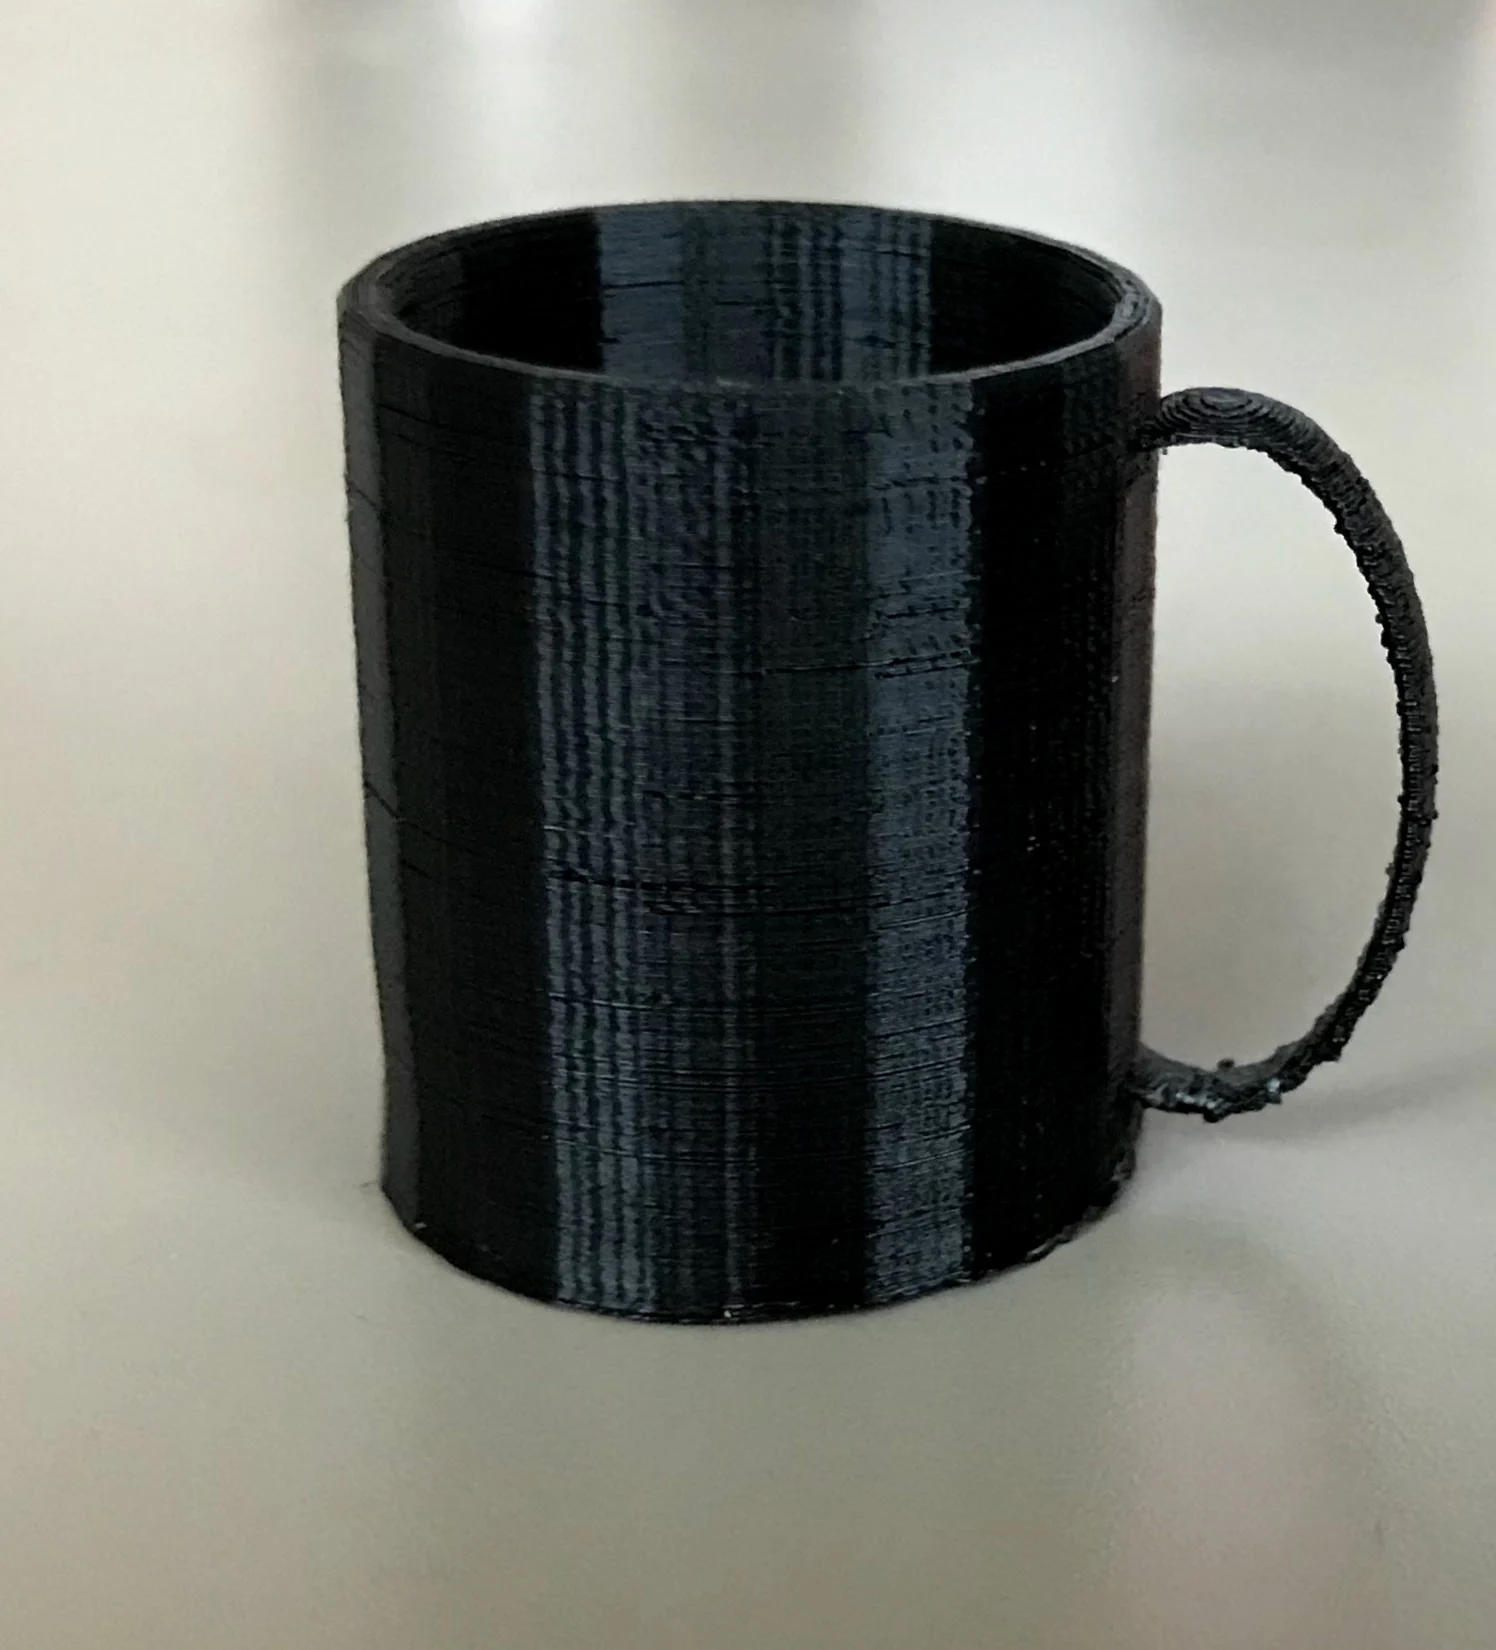 At the time my daughter was HUGE into American Girl dolls. I brought the printer home and set it up, took some measurements of a mug from the kitchen cabinet, and after a few minutes in Sketchup, I had a perfectly serviceable American Girl doll sized mug. I presented this to my daughter, imagining that I was about to be given a lengthy list of accessories that she wanted me to print, but she was not really all that impressed and much preferred to craft her own doll accessories. Similarly, my son never had much interest in me 3D printing accessories for his toys either. I printed a few things here and there but for the most part I never wanted to print useless plastic junk, and the moments where I needed to print a replacement part for something seemed much rarer compared to other 3D printing enthusiasts. It mostly sat unused in my office until 5 or 6 years ago when friends asked me to print a trophy for their annual hamburger cook-off (recent example here). At which point I at least cleaned it off and used it once a year, but still never more than that.
Eventually the part cooling fan on the Ultimate stopped working. This had happened once before and replacing a transistor on the mainboard solved the problem, but when it came back and I replaced the transistor again it still wasn’t working. Replacement mainboards were expensive enough that I could get a much nicer printer instead, but I was not even sure I wanted to keep dedicating space to a 3D printer that I rarely used. But then I saw a deal at Microcenter where I could get a Creality Ender3 Pro for $99. This is perhaps not a great printer and much better options were available at the time, but it was definitely the best $99 printer you could get, so I picked it up and kept printing hamburger trophies annually, but had ultimately concluded that 3D printing would never be my “thing.”
Fast forward to present day. A few weeks ago I sat down at my kitchen table to try out my shiny new Xiegu G90 radio. I spent a couple of hours setting it up and learning how to use it, and I even made a few contacts. So many people say it’s a great little radio, and I agree it is a great little radio. As with my 3D printer, there are definitely better radios you can get, but it’s definitely one of the best you can get at such a low price point. It’s not perfect though, and after working with it for a couple of hours I noticed three quality-of-life issues:
- When it’s sitting flat on a table it’s really hard to see the screen
- The onboard speaker points up and is hard to hear somehow
- There’s nowhere to put the microphone
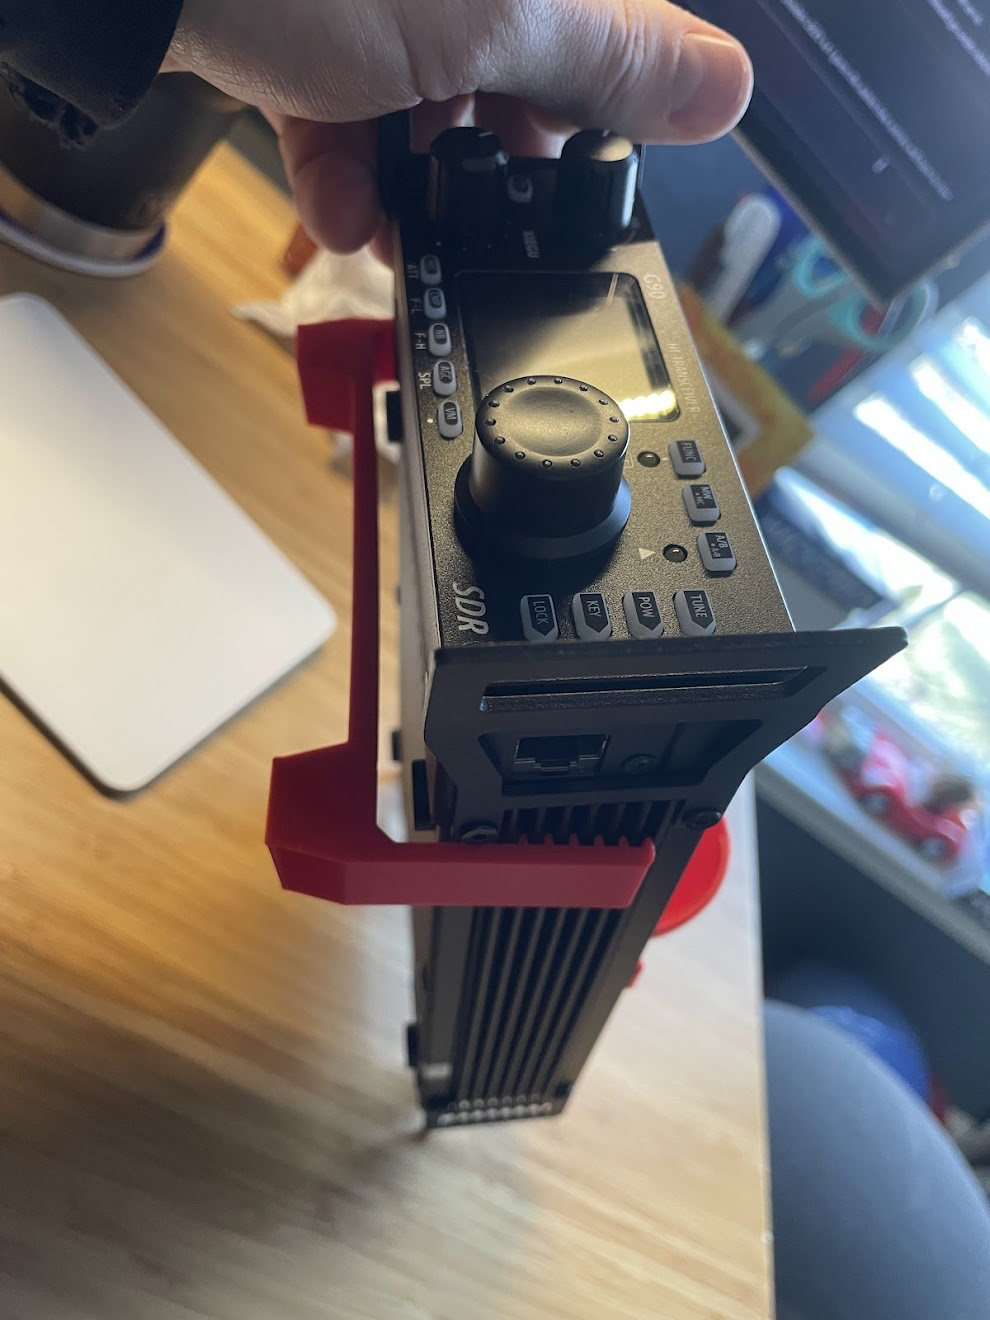
For item #1, you can buy stands for the G90 that raise the front of it up. They cost anywhere from $35 for a basic metal bracket with legs to $70 for a more complex part complete with a cooling fan. But then I had the thought that this seemed like something that could be 3D printed, so I started searching around on Thingiverse and Printables, and sure enough there were several options available. I settled on this one because it seems decently sturdy and more importantly it does not have to be screwed on, so it’s easy to clip on/off as needed. The way it clips onto the cooling fins on either side of the radio is also cool because it allows you to adjust the angle of the radio by clipping it higher or lower. Very cool!
Then I started looking further and found that there were also several speaker deflectors that would help redirect at least some of the audio to you. After looking at the available options I chose this one. I think the spherical shape looks elegant, and it’s pretty low profile so will hopefully not be annoying when trying to transport the radio. In fact, I found that it’s low enough in profile that the radio still fits in the original manufacturer box with it on, which is how I am storing and transporting the radio for the time being.
About the only thing I don’t like about it is that it screws on. This is preferable to me to other options that require one of the commercial stands to clamp them on, or have to be attached with double-stick tape. But I still can’t easily put it on and take it off as needed - for example if I’m going to be using headphones I don’t really need a speaker deflector attached. Another downside is the screws themselves. It uses two screws. One of them also holds the speaker on and has a nut underneath the case. This screw was not long enough to go through the deflector and the case and the speaker and still have enough thread available to grab the nut. I would need to find a longer screw to make it work, so just used the other screw in the short term, but I found myself not loving the solution.
Then, it snowed a solid 10” and the temperatures outside dropped well below freezing and just hung there for two weeks. With no fixed antenna outside right now I have to work portable even when I’m at home, and slogging through 10” of snow to put up the antenna and run a wire through a cracked door or window letting the cold air in for an hour or two just did not seem all that fun. I was not going to get on the air for awhile. But I couldn’t get that speaker deflector out of my head. I kept looking at the radio with the stand clipped to the cooling fins and the deflector half-screwed to the top, and I thought to myself “Wouldn’t it be cool if this speaker deflector could also clip on to the cooling fins?” But another perusal of Thingiverse and Printables did not turn up anything like that. If I only was more comfortable with CAD, maybe I could design it myself.
But then I started thinking about how people sometimes say ham radio is a hobby of hobbies. There’s more to ‘playing radio’ than just being on the air. Since I would not be able to get on the air for awhile, why not shift gears a little bit, get better at CAD and see if I can make the deflector that I had in my mind?
I’ve been listening to old episodes of Ham Radio Workbench and had heard a couple of mentions of a good FreeCAD tutorial from DigiKey. I had been using Fusion but did not know it very well and always felt a bit concerned that one day they would discontinue their no-cost license for hobbyists. I had been thinking about switching to FreeCAD, so why not switch now? So I spent a few days going through those tutorials, which gave me a decent feel for the workflow. Then, I just had to try and build the thing I had in my head.
I started out designing the bit of the clip that would engage with the cooling fins. It was a little tough to measure the fins accurately with my calipers, but I was diligent about using a Spreadsheet in FreeCAD to manage the various dimensions which made it easy to adjust the various aspects of the part once I had sketched the shape of it. One design pro-tip I had learned from my friend who got me into 3D printing was to print bits of things to test them out before wasting time and material on full-sized parts. That could mean scaling the size down, trimming the dimensions, or even chopping pieces away and just printing those pieces.
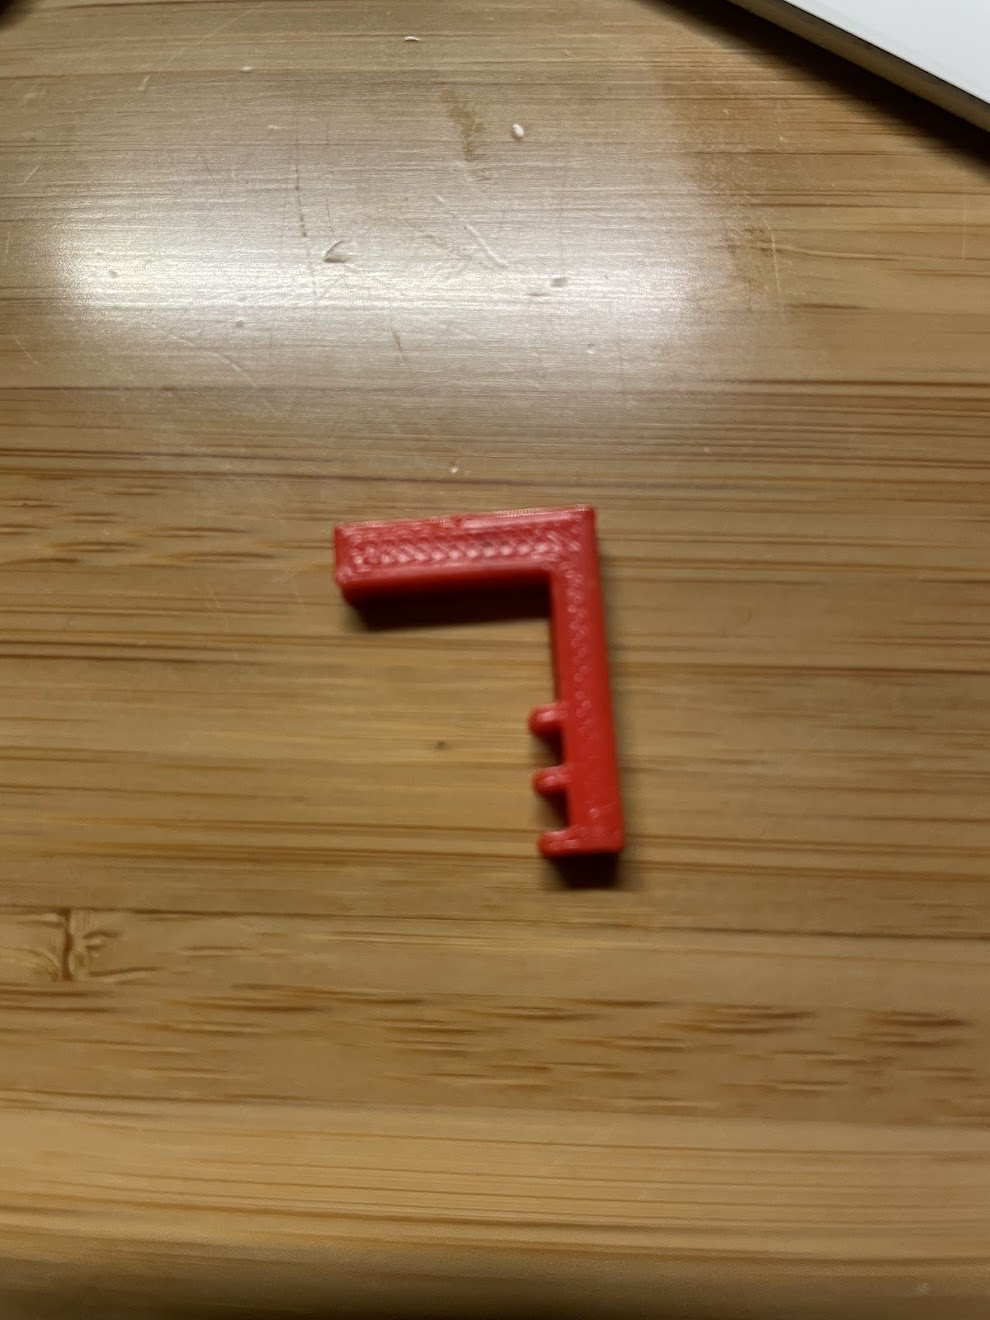
In order to get these teeth right, I printed prototypes of just the piece with the teeth and made it only 2mm thick so that I could print it in just a few minutes and test fit it, make an adjustment and print again until I got it right. Once I got a good fit on the teeth I did a couple similar test prints to make sure that the corner that went across the top of the case had the correct dimensions.
Making the quarter-sphere part of the deflector was not too tough, but the original model basically had a 45 degree slant cut into it. I’m guessing this feature had two purposes, one being to help bounce the sound out to the listener and the other to allow it to print without requiring supports. This took some noodling around to get a plane positioned in just the right way and then cut the top off along that plane and fill in the leftover hole.

Once I figured that out, I just had to fashion the other side of the clip which seems like it should have been pretty simple considering it would just be a mirror image of the other side of the clip, but with a longer stem. But, it was not very simple at all and despite fighting with it for a number of hours over two days, I was never able to get it to work the way I thought it should. I could not add a sketch to the side of the deflector to extrude from because the deflector had a curved shape. There were a couple ways to clone the existing clip, but they all resulted in a separate body from the other half that I had already designed and whenever I tried to join them back together into a single piece FreeCAD would throw some kind of error and the whole thing would get messed up. All was not lost, though. While reading about how to join parts together I saw someone mention that if you overlapped two parts and exported both of them to an STL file that FreeCAD would merge them. Sure enough that worked, so even though the FreeCAD design is kind of janky with two separate parts, my STL is one complete part. It does not even have any internal geometry quirks; it’s a continuous solid where the two parts merged together, and it printed up just fine.
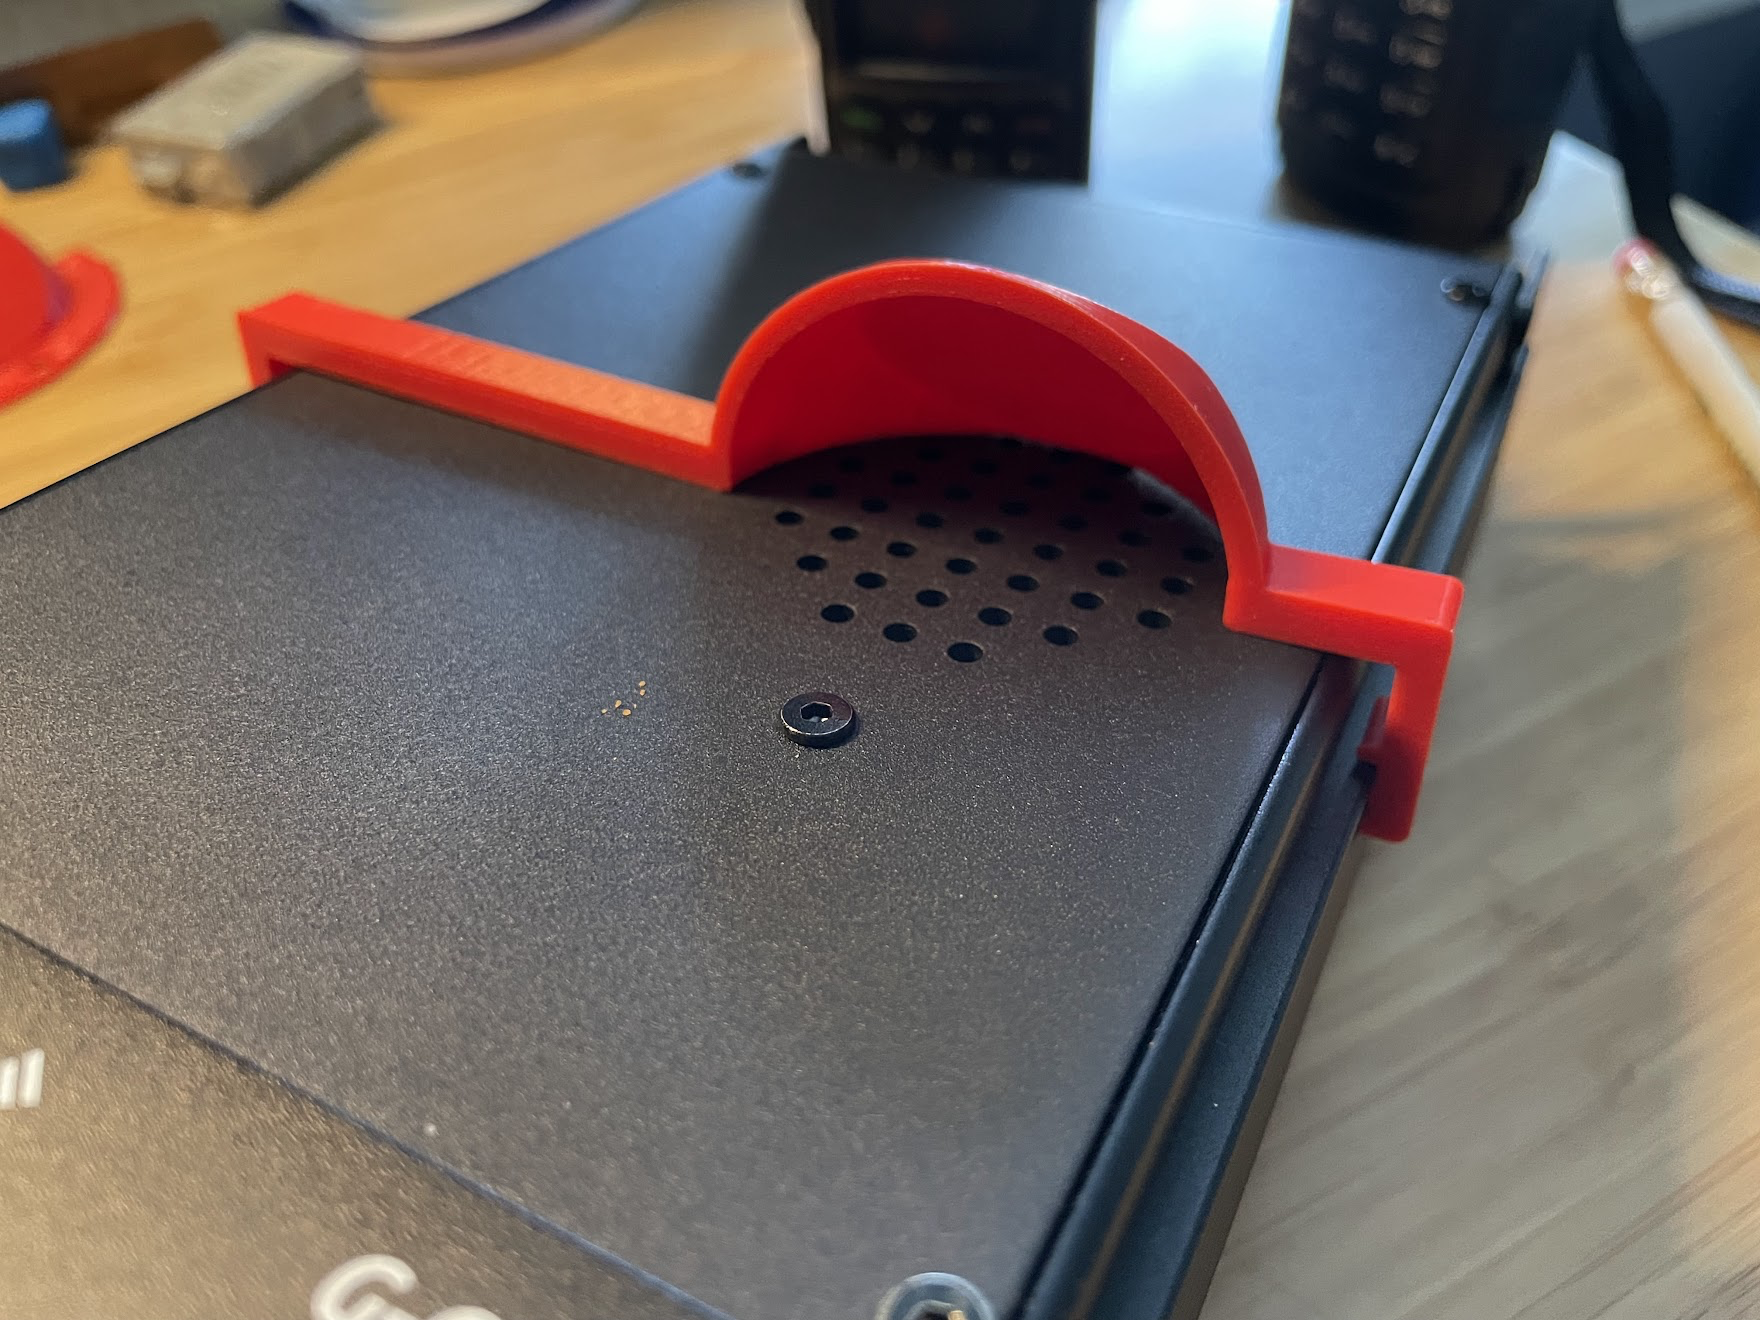
Now I’ve got the speaker deflector I dreamed up that conveniently clips across the back of the radio when I want it, and unclips easily so that I can leave it off when I don’t want it. If you want to print it for yourself, I put it up on Printables… feel free to give it a go!
I’ve sorted out two of those quality-of-life issues. Now I just need to find some kind of hook for the microphone. Somebody probably has something like that already, but that will have to be a search for another day.